Shopping Cart


Out-of-Stock
Don't panic, there are solutions.
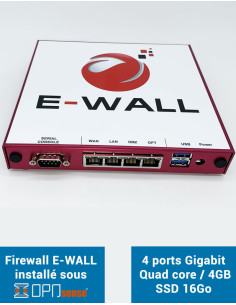
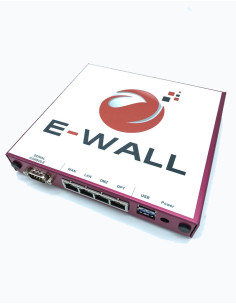
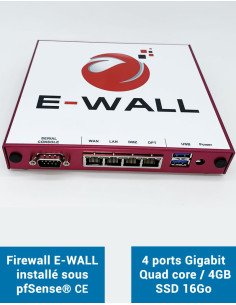
My Firewall is an AP2x, AP3x or AP4x (the red box).
To reinstall pfSense you will need:
It will take you about 15/30 minutes to reinstall your EWALL Firewall.
It will take you about 15/30 minutes to reinstall your EWALL Firewall.
First operation, create the reinstallation USB key
We will create a bootable USB key with the pfSense software.
For this first operation, download Rufus from the official website: RUFUS
You have the choice between installable or portable version. I recommend the portable version which is not installed, because you will not need RUFUS permanently.
Then, download pfSense for your Firewall: pfSense
APx Firewalls do not have a screen output, but a pfSense console on the serial port. So you will need to choose the following parameters to have the right distribution for your firewall:
You should have on your computer, a file pfSense-CE-memstick-serial-2.5.1-RELEASE-amd64.img.gz for the Serial version or pfSense-CE-memstick-2.5.1-RELEASE-amd64.img.gz for the VGA version
Now we will write the pfSense image on the USB key and make the key bootable. Insert your USB key into your computer. Then launch RUFUS, you will have a Dashboard that appears (see opposite).
Second operation, install pfSense on the APx Firewall
You need your EWALL AP2x, AP3x or AP4x Firewall box, the PUTTY software to connect to the console and your USB / DB9 Serial cable to do the installation.
Connect the USB / DB9 Serial cable to your computer and the DB9 connector to the Firewall, this will detect the cable and assign it to a COM port.
Start PUTTY and choose Serial connection, the COMx port used by the cable and the speed 115200, the "serial" parameters are 115200, 8 data bits, 1 stop bit, no parity and flow control on XON / XOFF. Start the connection with PUTTY and power on your Firewall.
PUTTY should show you the startup of the Firewall Bios. If this is not the case, check the operation of PUTTY and your cable on another device equipped with a serial port (often a router, a switch or another firewall).
When starting the firewall when the BIOS version is displayed, you can press F10 to choose which storage to start your firewall on. Choose your USB key and let the pfSense boot from the USB key start until the first question (wait a few minutes).
When starting the firewall when the BIOS version is displayed, you can press F10 to choose which storage to start your firewall on. Choose your USB key and let the pfSense boot from the USB key start until the first question (wait a few minutes).
A message is displayed "Console type [vt100]:" validate to accept. Then on the message of Copyright and Trandemark pfSense, read the notice and validate to accept.
A new screen offers 3 choices, "Install" the one that interests us, but also the choice to start a "Rescue Shell" to troubleshoot the firewall or "Recover config.xml" to reinject a backup of your firewall when it is blocked at boot (do not forget to make a backup of the parameters regularly).
A screen asks you for the layout of your keyboard "Keymap Selection", choose the default one by validating.
Then which partitioning to use for the installation, choose "Auto (UFS) BIOS" and validate (the BIOS is not UEFI).
Do you want to use the entire "Entire Disk" space or not by partitioning your disk. Choose the entire disk, the firewall will only be used for that and there is no point in changing the partitioning. Confirm your selection.
Then choose the partition scheme by choosing "MBR Dos Partition".
Select the disk to partition and install (do not make a mistake otherwise you will install pfSense on the USB key), normally it is the line containing "ada0" do "Finish" and "Commit" to confirm.
The installation begins, let it do for 5 minutes (formatting your storage) until the message "Manual Configuration" yes/no is displayed, we do not want to do any special configuration on the firewall, so answer "No", then select "Reboot", which will restart your firewall, this will complete the installation of pfsense and it will become operational with the factory configuration.
Do not forget to remove the USB key!
When you hear the melody, your pfSense Firewall is operational and the menu on the console port will allow you to view the active interfaces and find the LAN to configure your firewall via your browser. User/password reminder after factory config: admin/pfsense

Comments (0)